
Following the previous guide on Mapping Network Printers on Windows Devices with Intune and enabling standard users to map print queues from print servers without elevation, let’s now walk through the process of creating a print queue on users’ devices as a Win32 app using Intune. This tutorial will help you understand how to create printers using Intune, empowering you to efficiently manage printing setups for your organization.
We know some organisations have tens of network printers on their print servers, and if you’re one the people who need to bulk create network printers, do yourself a favor and grab this handy script from my GitHub.
Creating the install and detection scripts
The script is pretty straight forward:
- Fill in the printers.csv with the list of print queues and print servers FQDN.
- Run the Bulk-Create-Printers-Queues.ps1 script.
- The script will create a folder for each printer in the csv.
- The folder will contain 3 files:
- Install.ps1 for reference.
- Detect.ps1 which you will use for detection.
- Install.intunewin which you will use to upload to Intune.
I have included the IntuneWinAppUtil.exe file in the script. This is the latest version at the time of the writing. Feel free to download the latest directly from Microsoft-Win32-Content-Prep-Tool and add it to the same folder as the script and CSV file, replacing the included IntuneWinAppUtil.exe.
Creating Print queue as a win32 App
Now that you have the intunewin file and the detection script, it’s time to create the win32 app on Intune:
- Sign into Intune
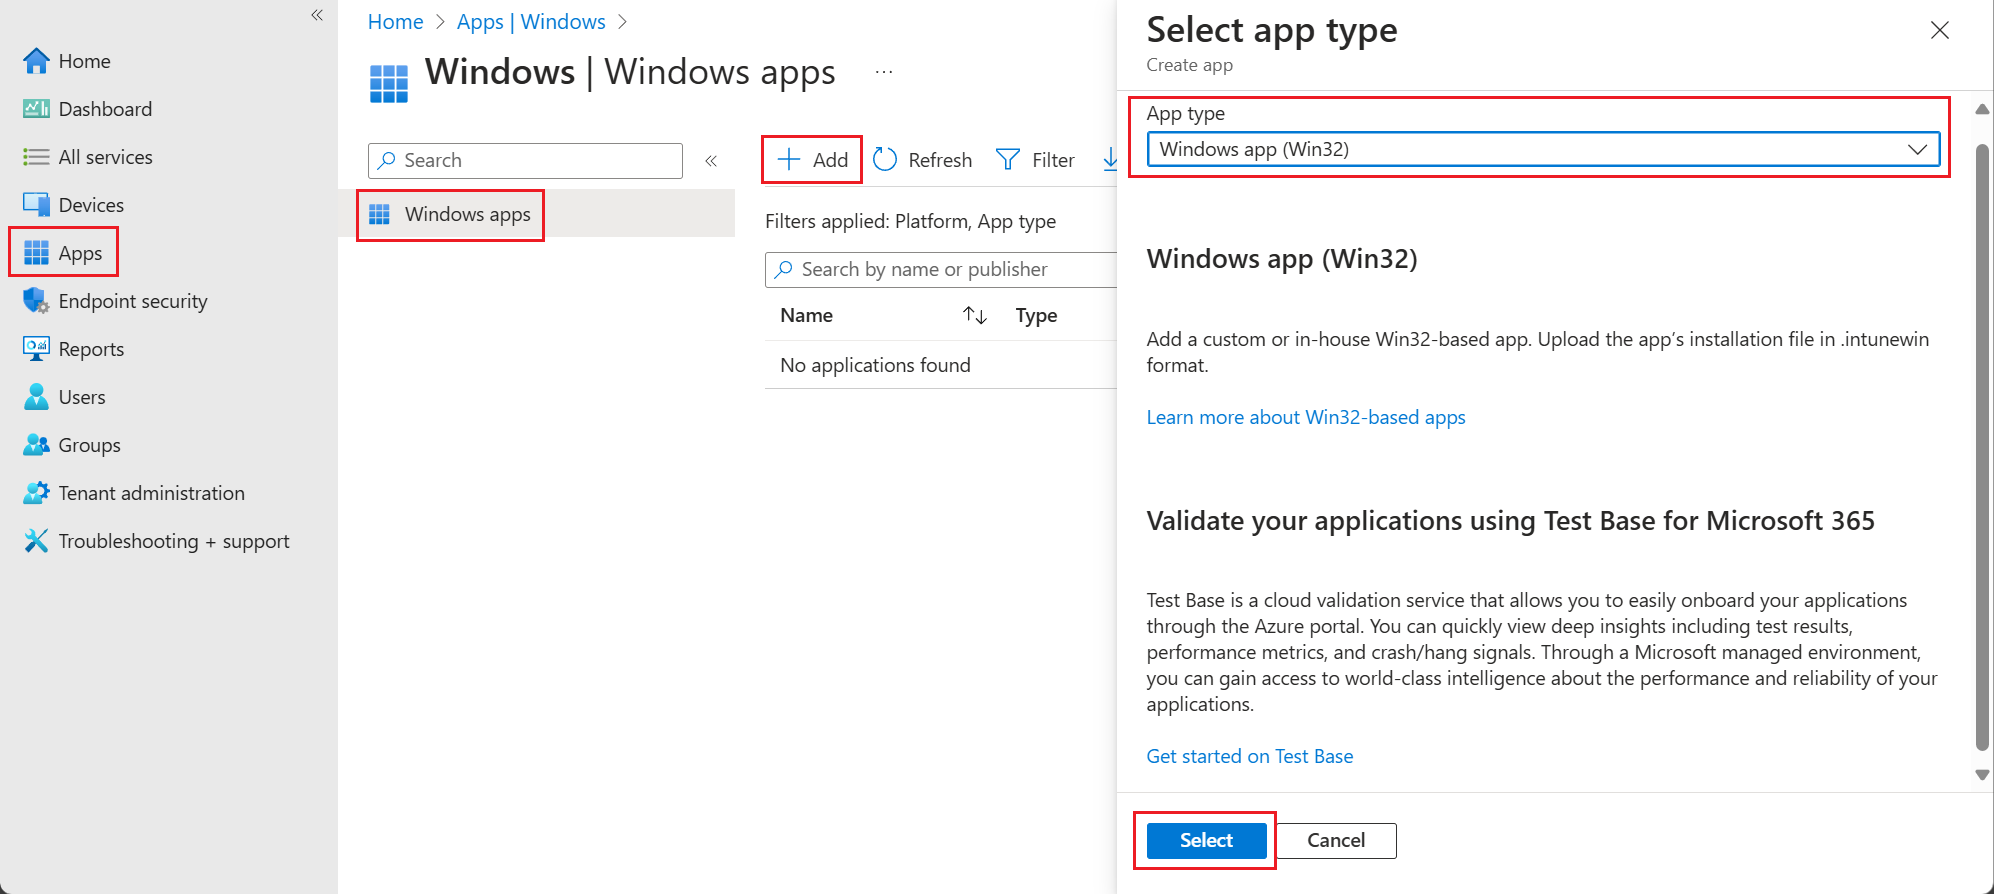
- Go to Apps > Windows and click Add from the top menu
- Select Windows App (Win32) and click Select
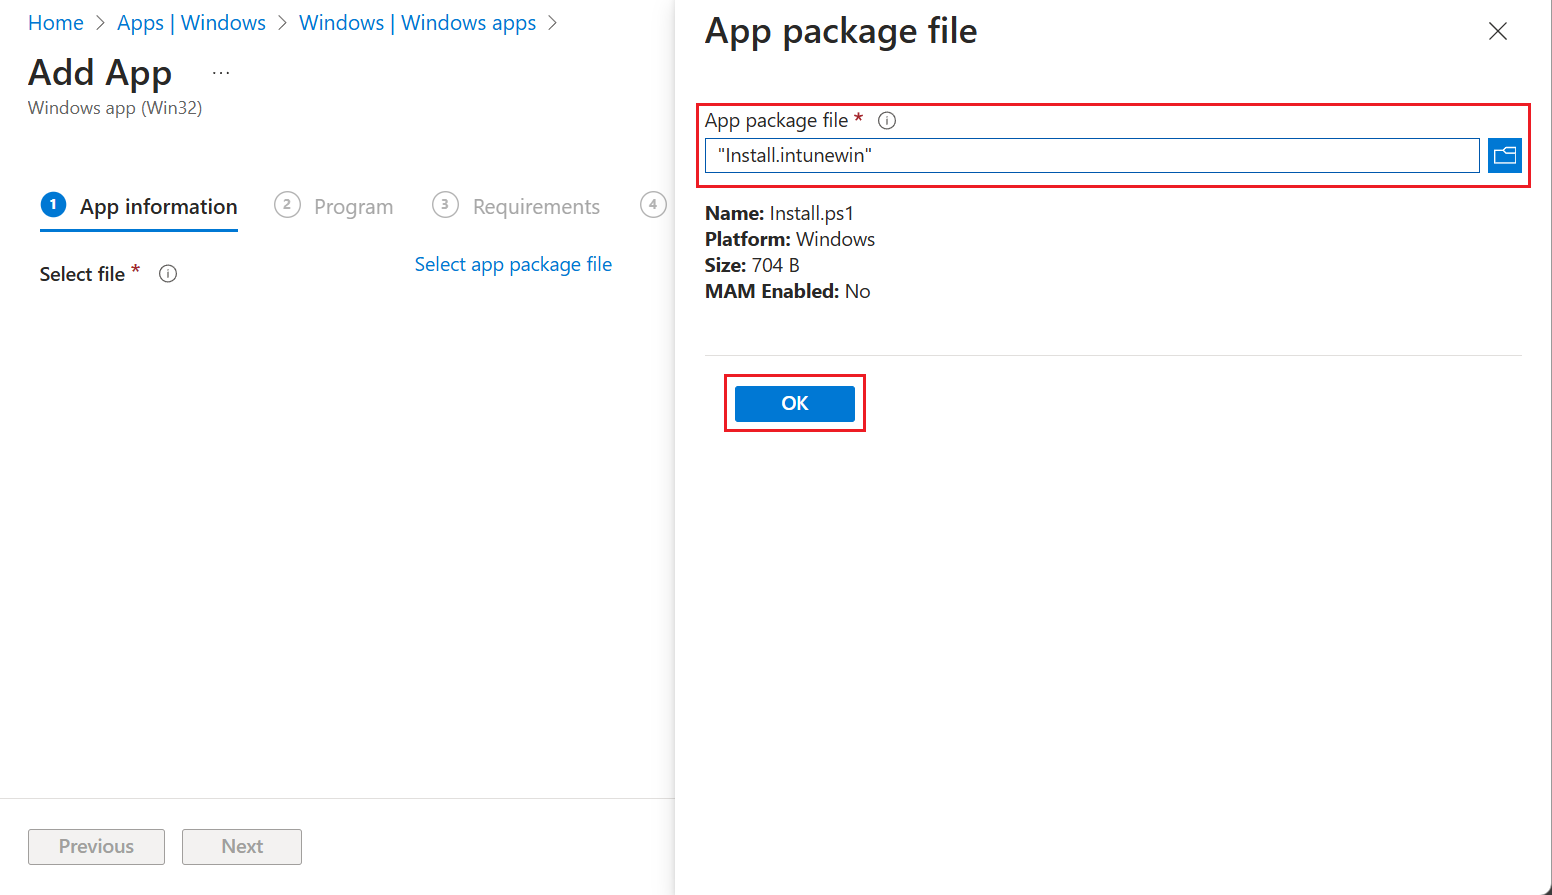
- Select the package file and click OK.
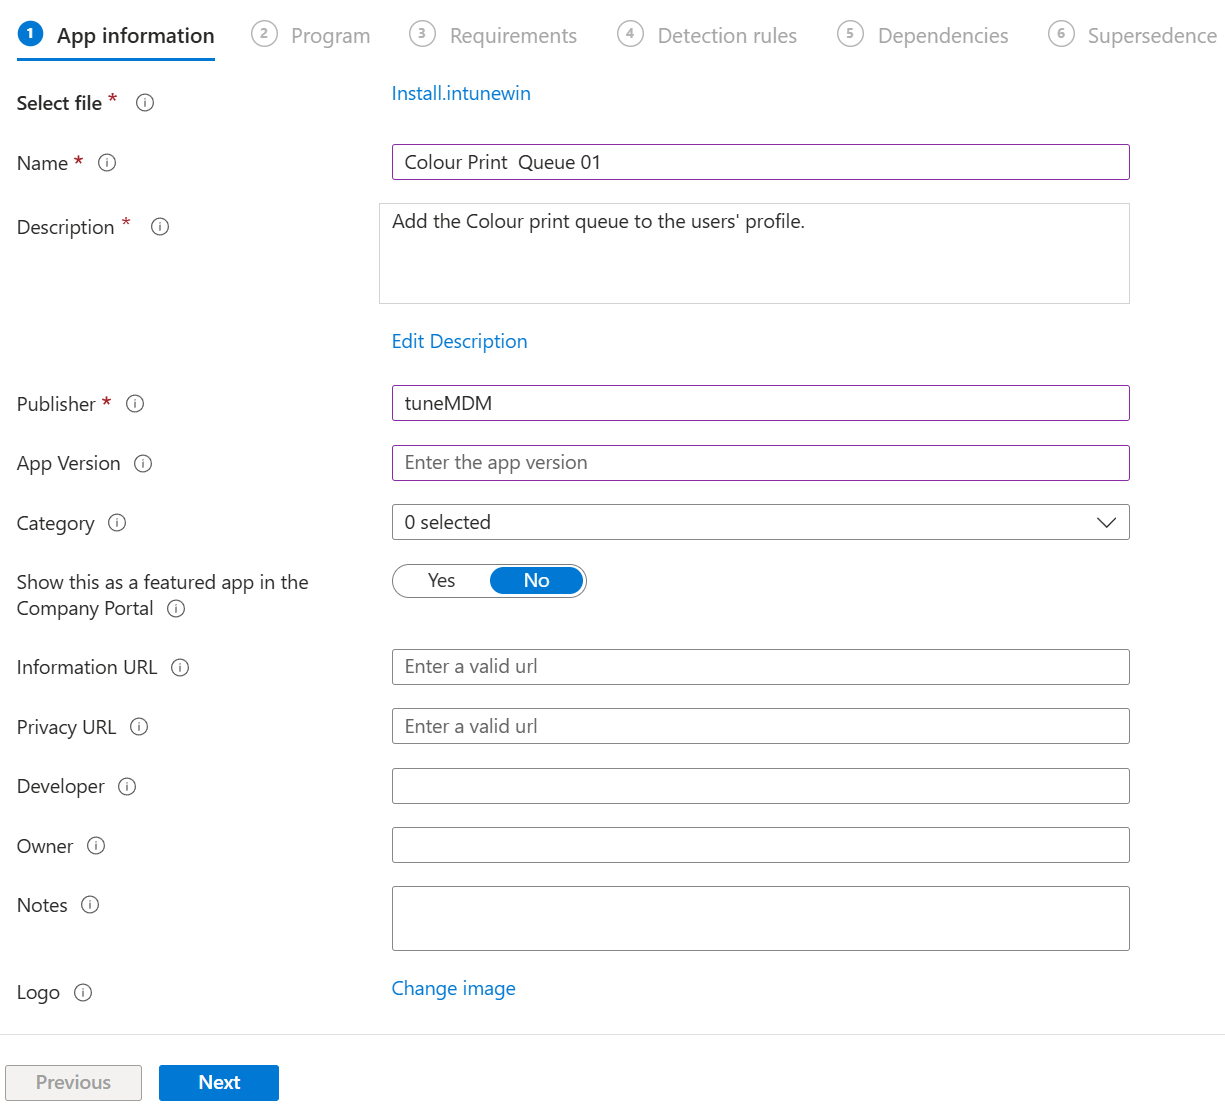
- Add the printer Name, Description, and Publisher. You can also add other details such as version and icon if you want then click Next.
- Add the Install Command and Uninstall command as per below and change the Install Behavior to User – This is really important as the print queue is added to the logged-on user’s profile. Then click Next.
Install command:%windir%\sysnative\windowspowershell\v1.0\powershell.exe -executionPolicy bypass -windowstyle hidden -file .\Install.ps1 -Mode Install
Uninstall command: %windir%\sysnative\windowspowershell\v1.0\powershell.exe -executionPolicy bypass -windowstyle hidden -file .\Install.ps1 -Mode Uninstall
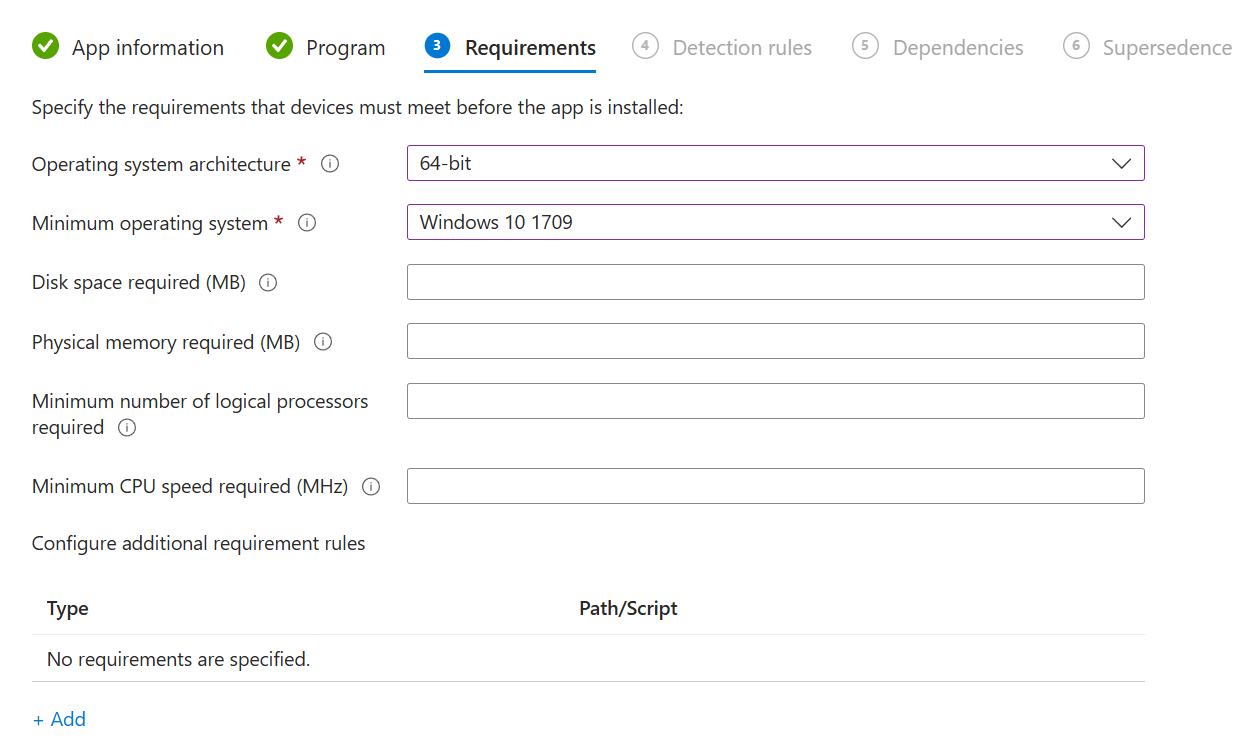
- Add the Requirements
- For the detection rules format, select Use a custom detection script.
- Select the Detect.ps1 file for the printer you’re adding.
- Leave the Run script as and Enforce script signature as No and click Next.

- Leave the Dependecies and Supersedence empty.
- Assign the package to the required group(s).
- Verify the printer details and click Create.
Now, you have a Win32 app that maps the print queue to the assigned users. It includes a built-in detection script that acts as a remediation tool if the printer is accidentally uninstalled, as it operates within a user context mapping.
The beauty is that with this app is that you can easily assign the print queue to uninstall if you are rolling our new print queues from the server. So cleanup is also a breaze!

Leave a comment