
There are many ways to add printers on a Windows device using Intune, but in this article, we will focus on allowing standard users to map network printers and install drivers from a print server without elevation, while maintaining the security of the device. We will go through the setup, requirements, and why certain features need to be enabled to allow for a seamless user experience.
You can download a copy of the settings catalog JSON from my GitHub.
Why are network printers still a preferred choice for I.T administrators?
Whether you’re making the switch to Intune from an on-premises environment or using a secure print feature, network printers enable you to maintain control over print jobs (whether color or black and white), as well as oversee costs and security when users print and retrieve their documents. Moreover, keeping the print drivers on a print server allows IT administrators to easily update them on the server side and distribute the latest driver patches to users’ devices. Additionally, configuring print properties such as tray, paper size, paper type, and quality can be centrally managed from the server side, providing greater convenience for system administrators and users alike.
Now, let’s move on to the setup details without delving too deeply into why network printers remain widely used.
Steps to create a network mapped print queue on Intune
Mapping a Network Printer without Admin Privileges
Before we begin, it’s important to understand that we can enable non-admin users to install and update print drivers without needing admin credentials, while still maintaining security on the devices. This may sound risky, but we have measures in place to minimise the associated risks.
Step 1: Understanding the Profile Settings
The first step is to set up an “Allowed classes” profile, which limits what type of drivers non-admin users can install. Specifically, we are limiting them to printer drivers related GUIDs. Additionally, a list of approved print servers will be defined, from which users can install the whitelisted classes.
Step 2: Ensuring Safe Installation
With the above settings in place, only the whitelisted driver classes from the approved servers can be installed by standard users. Furthermore, standard users are also allowed to receive updates for drivers without needing elevated privileges.
By following these steps, we can create a settings catalogue configuration profile on Intune that allows users to map network print queues and install print drivers without the need for administrator privileges, ensuring a secure and streamlined experience for all users.
- Sign into your Intune tenant
- Head to Devices > Configuration
- From the top menu click Create > New Policy
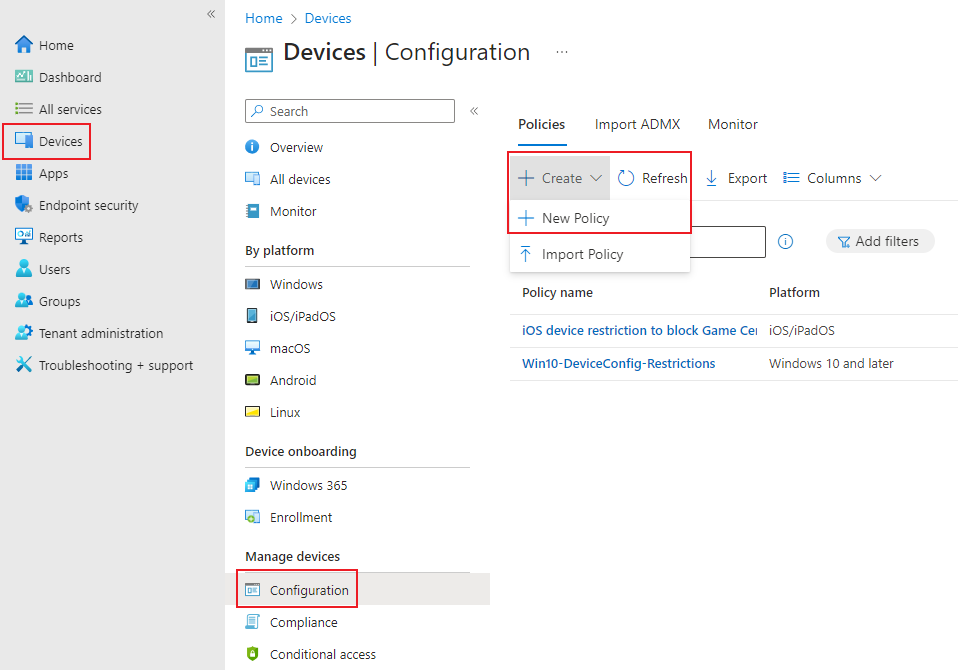
- From the side panel for Platform select Windows 10 or later and for Profile type select Settings Catalog then click Create.

- Give the profile a Name and a Description (optional) and click Next.

- Click Add settings andselect the below settings:
- Administrative Templates > Printers > Limits print driver installation to Administrators
- Limits print driver installation to Administrators: Disabled
- Administrative Templates > Printers > Package Point and print – Approved servers > Enter fully qualified server names (Device)
- Package Point and print – Approved Servers: Enabled
- Enter the FQDN of the servers in the format
printserver01.m365.localprintserver02.m365.local
- Administrative Templates > Printers > Package Point and print – Approved servers > Point and Print Restrictions
- Point and Print Restrictions: Enabled
- Enter fully qualified server names separated by semicolons (Device): Enter the FQDN of the servers in the format
printserver01.m365.local;printserver02.m365.local
Note: separate server names “;“ - Users can only point and print to machines in their forest (Device): Disabled
- Users can only point and print to these servers: (Device): Enabled
- When installing drivers for a new connection: (Device): Do not show warning or elevation prompt
- When updating drivers for an existing connection: (Device): Do not show warning or elevation prompt
- Administrative Templates > System > Device Installation > Device Installation Restrictions > Allow installation of devices using drivers that match these device setup classes
- Allow installation of devices using drivers that match these device setup classes: Enabled
- Allowed Classes:
{4d36e979-e325-11ce-bfc1-08002be10318}{4658ee7e-f050-11d1-b6bd-00c04fa372a7}{1ed2bbf9-11f0-4084-b21f-ad83a8e6dcdc}
- Administrative Templates > Printers > Limits print driver installation to Administrators
- Click Next
- Click Next on Scope tags (unless you are using scope tags for any other reason)
- Add the assignments as required and click Next
- The profile should look similar to the below

- Click Create
Summary
This guide unlocks a secure way for standard users to map network printers and install drivers on Windows devices using Intune. No admin privileges required!
We’ll show you the setup process, explain the benefits of network printers, and detail why specific features are crucial for a smooth user experience.
Key benefits
- Reduced IT burden: Manage print drivers and configurations centrally.
- Enhanced user experience: Seamless printer mapping and driver installation without admin intervention.
- Improved security: Granular control over driver installation and updates.
Next Steps
Now that you have the underlying foundation for users to receive print drivers from Intune using a Settings Catalog configuration profile, you can go ahead and map a network printer using a win32 app. Check my post Bulk Creation of Network Printers with Intune Win32 App for steps on how bulk create print queues from a CSV file and create a win32 app with an install, uninstall, detection scripts.

Leave a comment